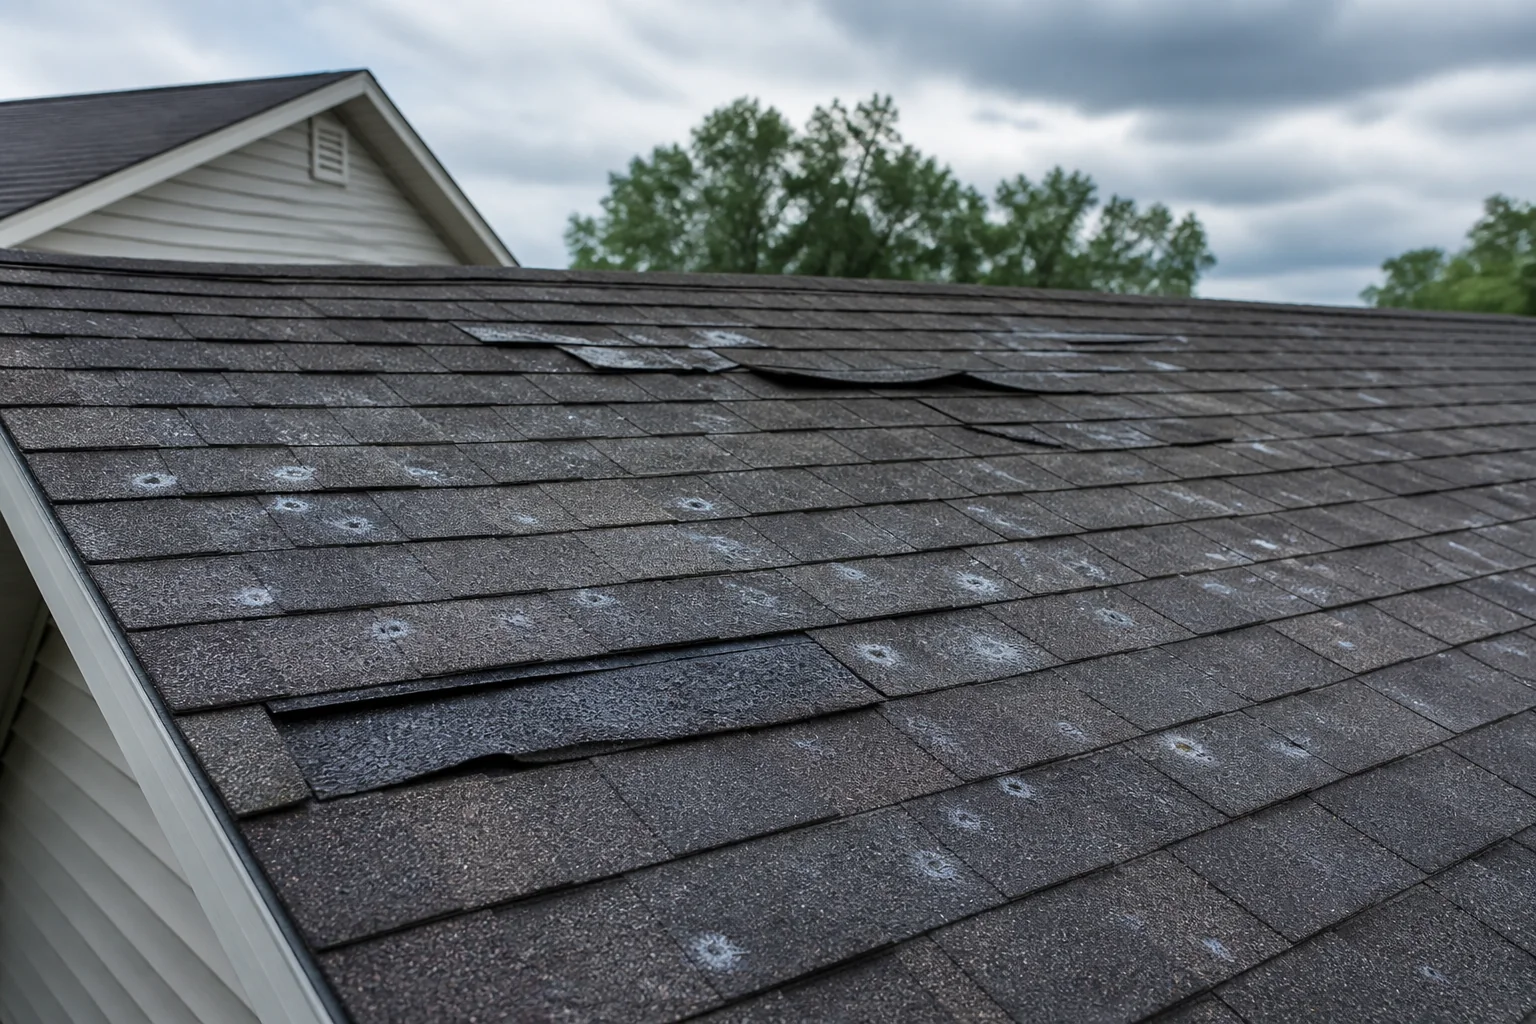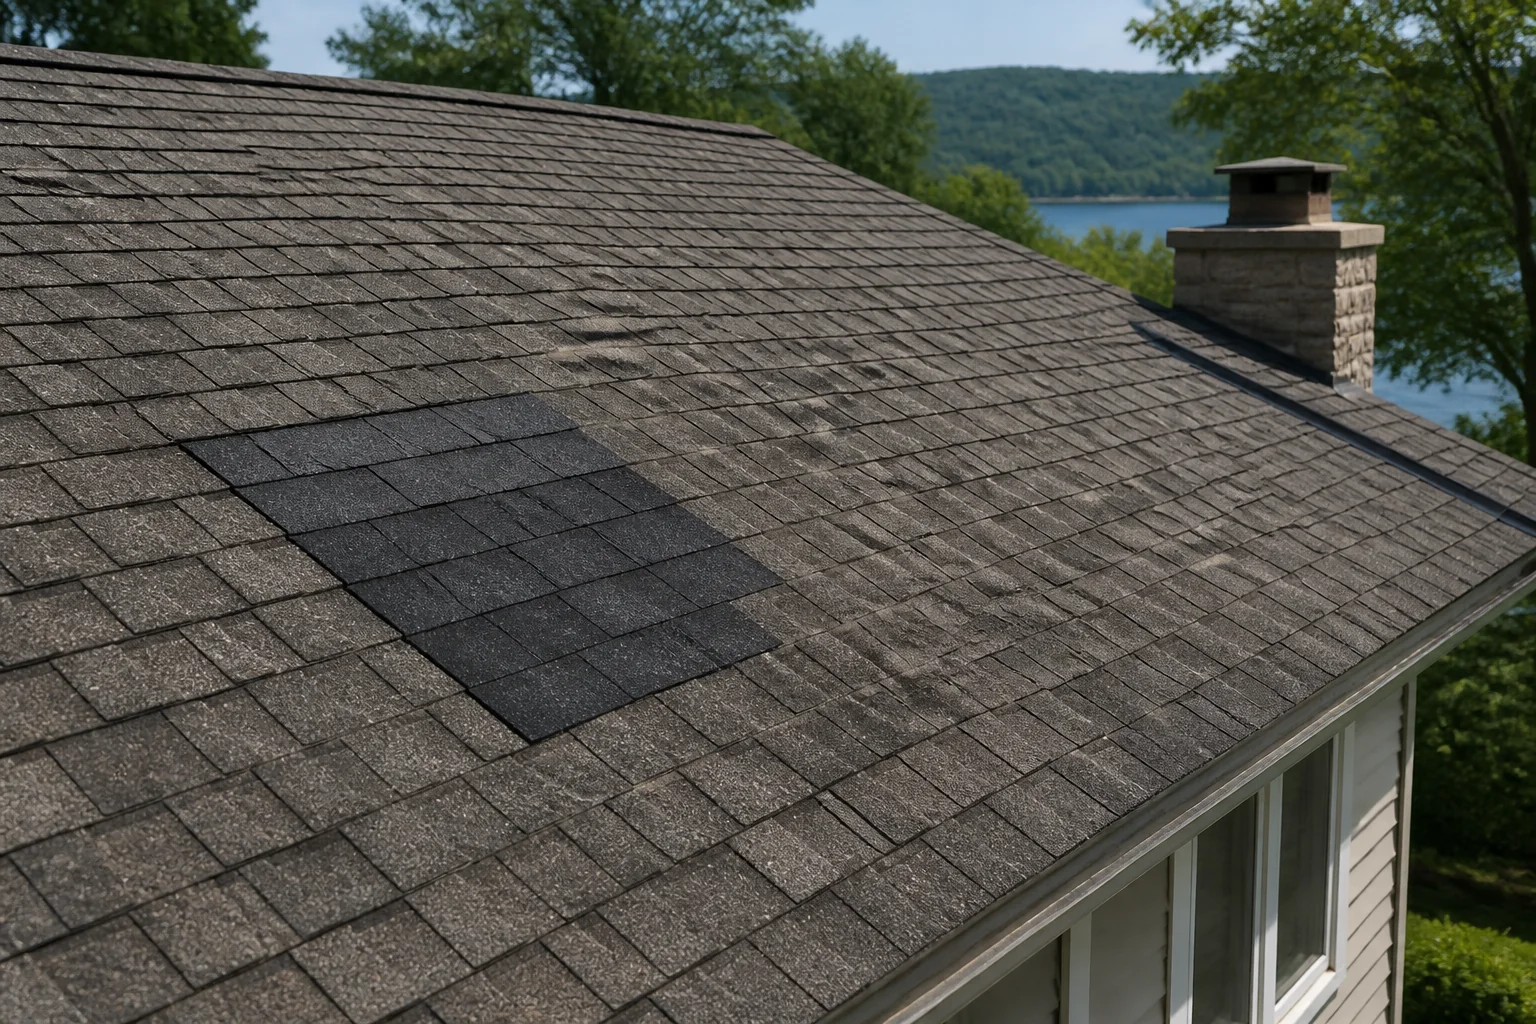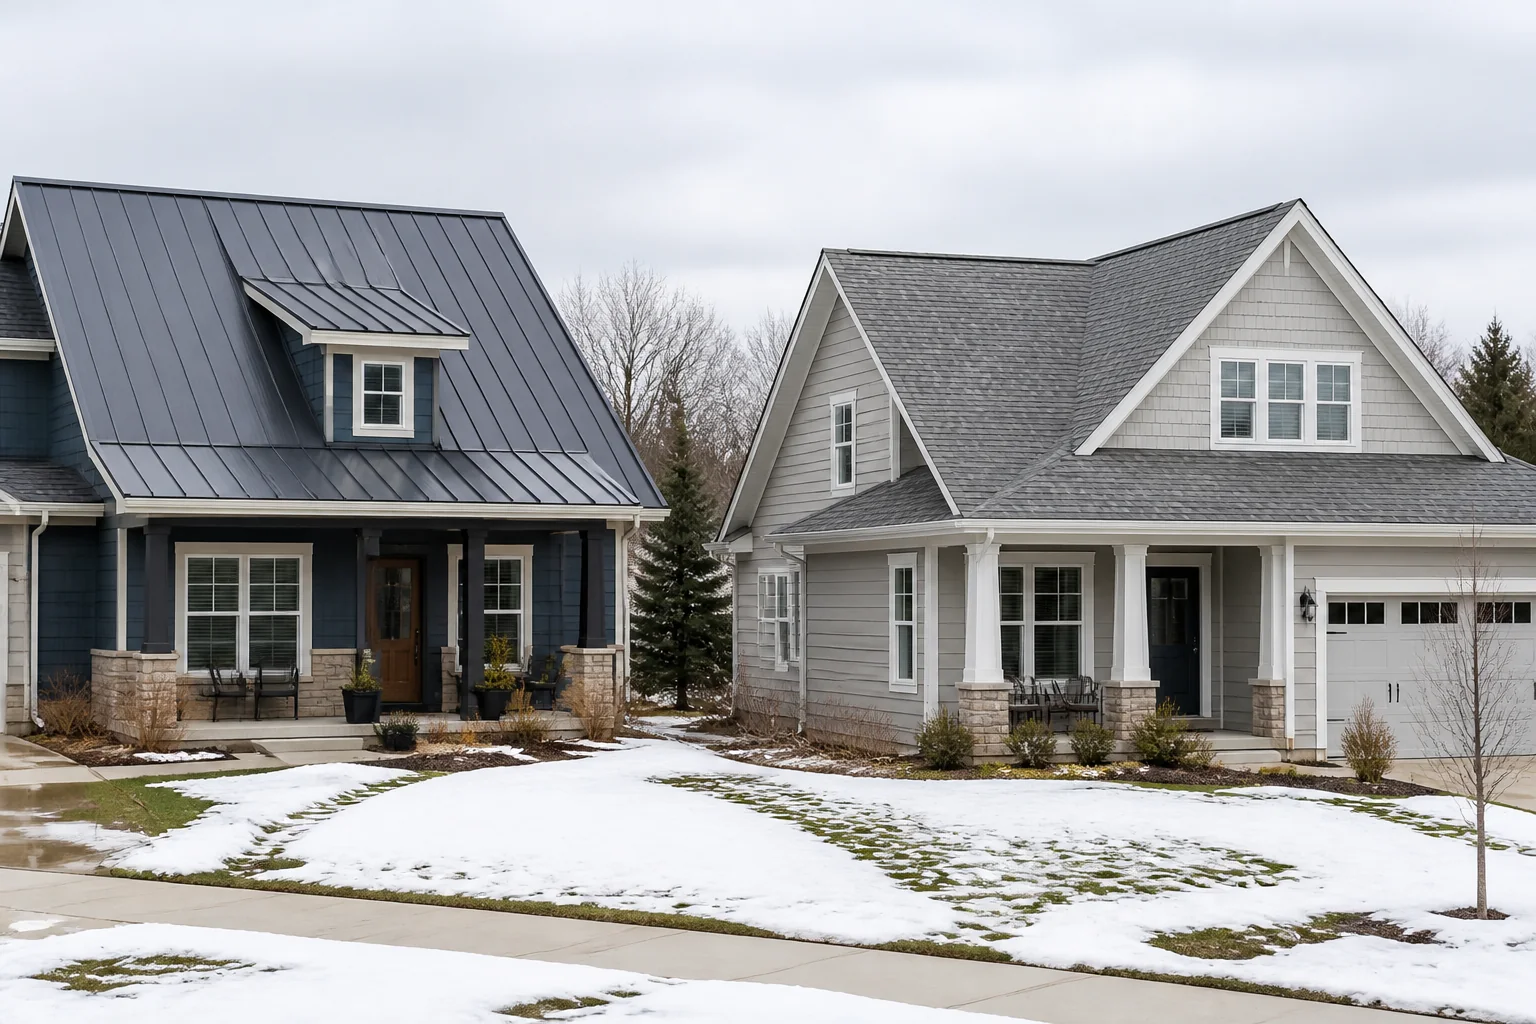
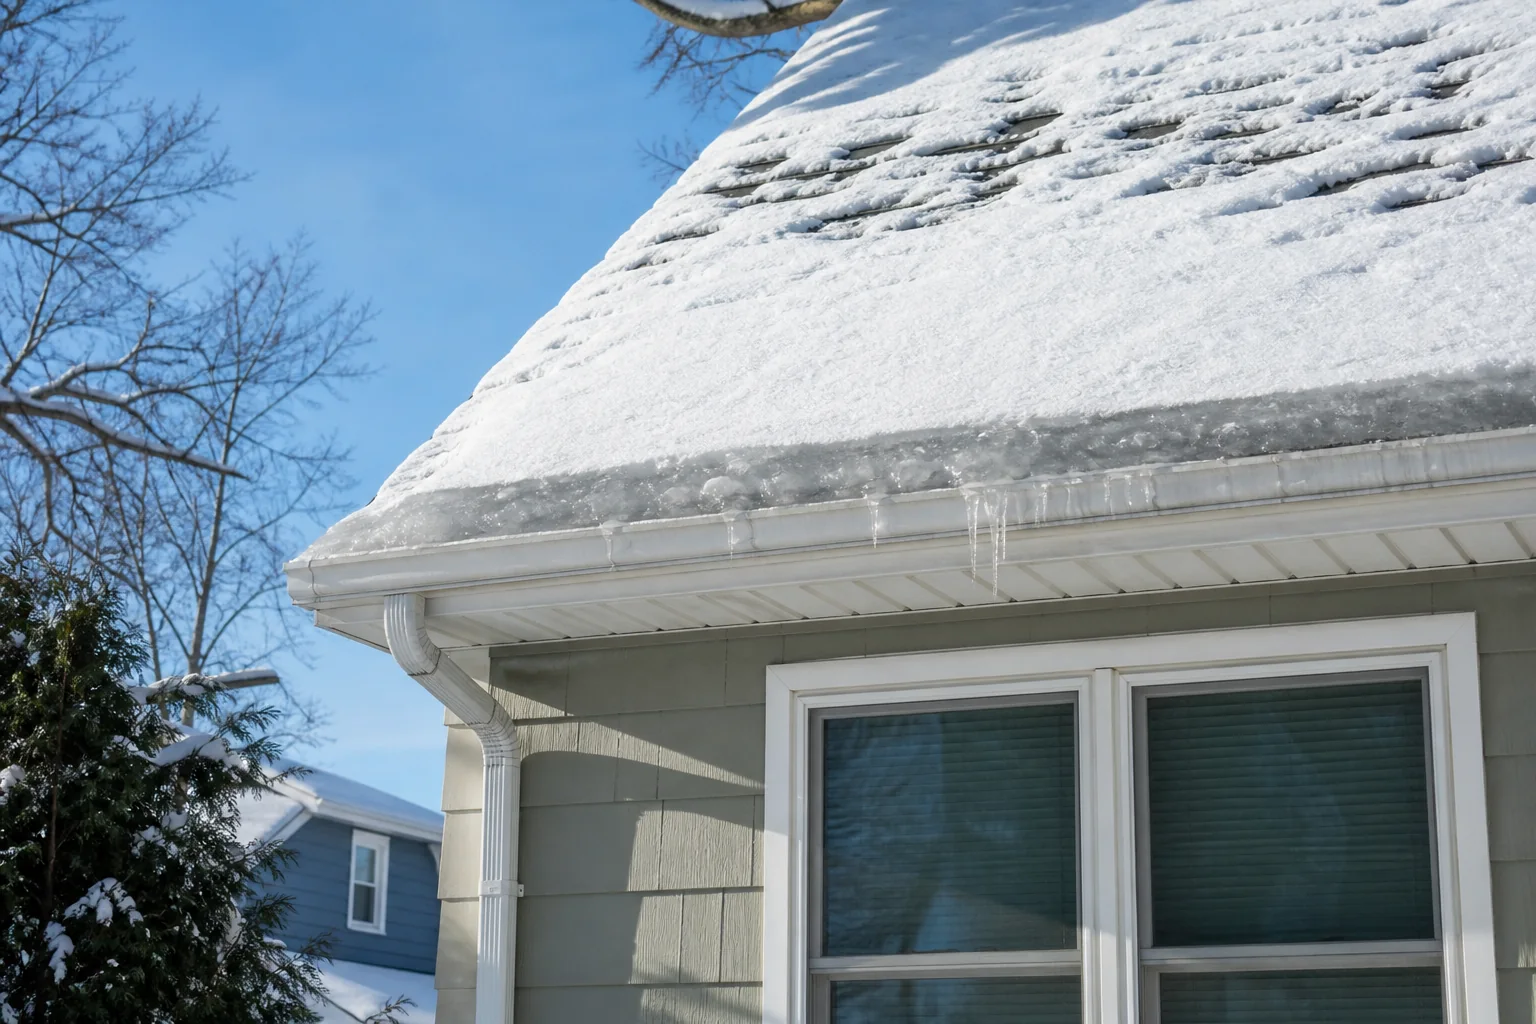
An ice dam can look like a row of harmless icicles along the edge of a Wisconsin roof. In reality, it is evidence that snow is melting on one part of the roof and refreezing on another. Once a ridge of ice forms at the eave, later snowmelt can pool behind it, move under shingles, and enter the roof assembly. The first visible symptom may be a ceiling stain, wet insulation, peeling paint, or a musty attic—well after water has found a path inside.
An ice dam is usually not just a gutter problem. The underlying cause is often heat reaching the roof deck, uneven roof temperatures, and repeated freeze-thaw cycles. A lasting solution requires more than breaking off the ice.
This guide explains how ice dams form, how to recognize warning signs, what to do during an active leak, and how Wisconsin homeowners can reduce the likelihood of another problem next winter.
Why ice dams are common on Wisconsin roofs
Wisconsin averages several winter storms each season, and long periods of snow cover create ideal conditions for ice dams. A heated home naturally loses some warmth through ceilings, attic bypasses, recessed lights, plumbing penetrations, ductwork, and poorly sealed attic access points. That heat warms the underside of the roof deck. Snow touching the warmer roof surface melts even when outdoor temperatures remain below freezing.
The meltwater runs toward the eaves. Because the eaves extend beyond the heated wall below, that portion of the roof is colder. Water refreezes there, and each new melt-freeze cycle makes the ridge larger. Water then collects behind the ridge and can move sideways or uphill beneath shingles through capillary action and wind pressure.
The National Weather Service describes this same cycle: snow melts over the warmer part of a roof, reaches colder eaves, refreezes, and eventually allows water to back up under the roofing. Wisconsin’s combination of deep cold, sunny winter days, temperature swings, and substantial snow cover can repeat that process many times in one season.
The warning signs homeowners should not ignore
Large icicles are a useful warning, but they are not proof by themselves. Icicles can form from ordinary daytime melting. Look for a pattern of symptoms instead:
- A thick, continuous ridge of ice at the eave
- Snow that melts in stripes or bare patches while the rest of the roof stays covered
- Icicles forming behind gutters or between the gutter and fascia
- Water dripping from soffits
- Dark or damp roof decking in the attic
- Wet, compressed, or discolored attic insulation
- Frost on roofing nails or the underside of sheathing
- Brown ceiling stains near exterior walls
- Bubbling paint, soft drywall, or peeling trim
- A musty smell that develops during thaws
Uneven snowmelt is especially informative. If the roof above one room becomes bare while neighboring sections remain snowy, heat may be escaping through that ceiling or through an unsealed penetration. A roofing inspection should look at the exterior pattern and the attic directly below it.
Do not wait for water to pour through a ceiling. Small, intermittent leaks can wet insulation and wood repeatedly. The materials may partially dry between thaws, hiding the problem while staining, mold growth, fastener corrosion, or wood deterioration progresses.
What to do when an ice dam is actively leaking
Protect people and the interior first. Move furniture and valuables away from the affected area. Place a container beneath an active drip and relieve a bulging ceiling only if it can be done safely and away from electrical fixtures. Photograph the interior damage, the roof edge from the ground, and any damaged belongings.
Call a qualified roofer if water is entering the home, the ice is substantial, or the roof is steep or high. Professional crews may use controlled steam removal or other methods suited to the roof material. The goal is to create drainage without tearing shingles, bending gutters, or sending heavy ice onto people below.
Avoid these common reactions:
- Do not climb an icy roof.
- Do not strike the dam with an axe, hammer, or shovel.
- Do not use an open flame, torch, or high-temperature device.
- Do not spread rock salt directly over roofing and metal components.
- Do not pull large icicles while standing beneath them.
- Do not assume an interior leak is directly below the exterior entry point.
Water can travel along decking, rafters, wiring, or the top of a vapor retarder before it becomes visible. A stain several feet from an exterior wall may still originate at the eave or a nearby valley.
If the damage may involve insurance, notify the carrier promptly and keep records of emergency work. The Wisconsin Office of the Commissioner of Insurance advises homeowners to photograph damage, make a detailed list, protect the property from further harm, and retain relevant receipts. Coverage depends on the policy and cause, so avoid promises that a specific loss will be covered.
Roof raking: useful emergency prevention, not a complete cure
A long-handled roof rake can reduce snow depth near the eaves while the operator remains on the ground. Removing the lower few feet of snow reduces the amount of meltwater that can feed a dam. ReadyWisconsin and the National Weather Service both identify roof snow management as a way to reduce ice-dam and snow-load risks.
Use a roof rake only from the ground. Pull small amounts at a time, stay clear of falling snow and utility lines, and leave a thin layer rather than scraping the roof surface. A tool with wheels or bumpers is less likely to damage shingles.
Raking is a short-term control. If heat continues escaping through the attic floor, the same conditions will return after the next snowfall. It is most valuable while a permanent air-sealing, insulation, ventilation, or roofing correction is being planned.
The four-part permanent solution
1. Control air leakage into the attic
Warm air leaking through gaps often carries more heat—and more moisture—than conduction through insulation alone. Common bypasses include attic hatches, electrical penetrations, plumbing stacks, bath-fan housings, dropped soffits, top plates, chimneys, and gaps around ductwork.
Air sealing should generally happen before adding insulation. Otherwise, new insulation can hide the bypasses without stopping them. Combustion appliances and chimneys require proper clearances and fire-safe materials, so this is not a place for improvised foam or caulk.
Bathroom and kitchen exhaust fans must terminate outdoors, not in the attic. A fan dumping warm, humid air into a cold attic can produce frost on the roof deck. During a thaw, that frost melts and may be mistaken for a roof leak.
2. Improve insulation continuity
Insulation slows heat flow from the rooms below. Its effectiveness depends on depth, material, installation quality, and continuity. Gaps, compression, wind washing near soffits, and poorly insulated attic hatches can create warm spots even when the average insulation depth appears adequate.
A good evaluation looks for missing areas, displaced batts, compressed material beneath storage decking, and dark dust patterns that suggest moving air. It also preserves a safe ventilation path at the eaves with correctly installed baffles where the roof design calls for them.
More insulation is not automatically better if moisture, air leakage, blocked soffits, or unsafe electrical conditions have not been addressed. The roof, attic, and mechanical systems need to work together.
3. Maintain balanced attic ventilation
Ventilation helps keep roof-deck temperatures more uniform and carries moisture out of a properly air-sealed attic. A typical vented assembly draws outdoor air at the soffits and exhausts it near the ridge. Problems arise when intake vents are blocked by insulation, exhaust is inadequate, short-circuit paths connect nearby intake and exhaust vents, or multiple incompatible vent systems disrupt airflow.
Ventilation cannot compensate for major heat leakage. Adding a roof vent while leaving open attic bypasses is similar to opening a window while the furnace runs. Diagnose the heat source first, then confirm that the ventilation design supports the roof assembly.
Cathedral ceilings, low-slope roofs, older homes, and additions may not have conventional accessible attics. Those assemblies need a solution specific to their framing and moisture-control design.
4. Confirm the eave and flashing details
Air sealing and insulation reduce ice-dam formation, but roofing details provide the secondary defense when water reaches the eave. Wisconsin’s Uniform Dwelling Code includes ice-dam protection requirements for certain shingled or shake roofs over heated areas. The code specifies qualifying protection and how far it must extend relative to the roof edge and exterior wall. Requirements vary with roof slope, assembly, project scope, and local enforcement, so the applicable current code and permit requirements should be confirmed for each job.
During replacement, a roofer should also evaluate drip edge, starter course, shingle fastening, gutter apron, valley membranes, wall flashing, and penetrations. An ice-and-water membrane is valuable, but it does not cool a warm roof deck or stop attic moisture. It is part of a system, not a substitute for diagnosing the building.
A practical inspection plan for Wisconsin homeowners
The best time to investigate is when evidence is still visible but conditions are safe. Document which roof sections melt first, where icicles form, and which rooms lie below them. Then arrange an inspection that includes both the roof exterior and accessible attic.
A useful assessment should answer:
- Where is heat reaching the roof deck?
- Is indoor moisture entering the attic?
- Are bath fans and ducts vented outdoors?
- Is insulation continuous and dry?
- Are soffit and ridge ventilation paths open and balanced?
- Are valleys, flashings, and eaves watertight?
- Has repeated leakage damaged sheathing, fascia, or insulation?
- Is a localized repair reasonable, or are broader corrections needed?
Be cautious of anyone who diagnoses the entire problem from the driveway or proposes only a larger gutter. The visible ice is the end of a chain of causes. The inspection needs to follow that chain into the attic and roof assembly.
When to call Riley’s Roofing
Call promptly if there is active water entry, sagging drywall, damaged electrical fixtures, substantial ice over a doorway, loose gutters, or signs of wet roof decking. For recurring dams without an active emergency, schedule an inspection before the next major snow season. That provides time to plan air sealing, insulation coordination, ventilation changes, and any needed roof repair without working under emergency conditions.
Riley’s Roofing serves Wisconsin homeowners from Monroe and can evaluate winter damage, flashing, shingles, roof ventilation, and the overall condition of the roof. If the assembly has reached the end of its useful life, the team can also explain what should be corrected during a roof replacement so the new roof is not asked to solve an attic problem by itself.
Sources and review information
- ReadyWisconsin: Winter Storms
- National Weather Service: Preventing Roof Ice Dams
- Wisconsin DSPS: Uniform Dwelling Code
- Wisconsin OCI: After a Storm Hits
This homeowner guide was prepared specifically for Wisconsin conditions and reviewed for Riley’s Roofing, a licensed and insured roofing contractor based in Monroe, Wisconsin (WI contractor license 4742-DCFR). It provides general educational information, not engineering, legal, or insurance advice. Every roof and policy is different; an on-site inspection and the current applicable code control the final recommendation.